
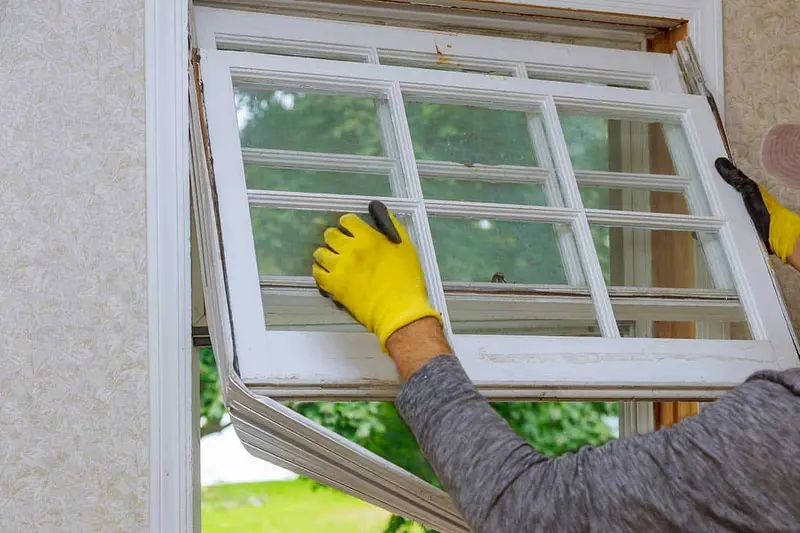
Single pane glass replacement can be a necessary task for homeowners dealing with broken or outdated windows. Whether a baseball has shattered your window or it has simply worn down over time, knowing how to replace single-pane glass is key for maintaining your home. This guide will provide you with a comprehensive overview of the entire replacement process so that you can tackle this project with confidence.
What Are Single-Pane Windows?
Single-pane windows consist of a single sheet of glass, typically framed in wood or metal. They are often found in older homes due to their historical appeal. While they may be charming, single-pane windows lack the insulation and energy efficiency of their multi-pane counterparts. This inefficiency can lead to higher energy bills and discomfort in extreme weather conditions. When considering single pane glass replacement, it’s needed to understand the steps involved to make your windows functional and energy-efficient once again.
Tools and Materials Needed for Replacement
Before beginning your single pane glass replacement, gather all necessary tools and materials. Having everything ready will make the process smoother and more efficient. Here’s a list of what you will need:
You will require safety equipment such as leather work gloves and eye protection to keep yourself safe during the project. For tools, a putty knife, pliers, and a tape measure are key. Additionally, a carpenter’s knife, a paintbrush, and a rubber mallet will help during installation.
For materials, you will need replacement glass cut to size, glazing points, glazing compound, and exterior-grade paint. Fine-grit sandpaper and linseed oil or clear wood sealer will help prepare and protect the frame.
Prepare the Area
Start by having the work area safe and clean. Remove any curtains, blinds, or window treatments that may obstruct your work. Wear leather gloves to protect your hands from sharp edges as you carefully remove the broken glass. Use a putty knife to scrape away the old glazing compound, which hardens to hold the windowpane in place. It can be tricky. If the old glazing is particularly stubborn, applying heat with a heat gun can soften it.
Once the old glazing is out, check for any remaining shards of glass and carefully remove them using pliers. This step is vital for guaranteeing the safety of yourself and others in the area. Smooth out any rough edges or old caulk with sandpaper, preparing the frame for the new glass.
Measure and Test-Fit the New Glass
Accurate measurements are key in assuring a proper fit for the new glass. Measure the width and height of the window opening, making sure to measure from the outer edges of the L-shaped channels. Once you have the dimensions, subtract one-eighth inch from both measurements. The adjustment allows for a snug fit and accommodates seasonal changes that can cause the glass to expand and contract.
With your measurements in hand, visit a local hardware store to have a new piece of glass cut to size. Alternatively, if you have a large sheet of glass at home, you can cut your own. Guarantee that your new pane matches the thickness and type of the old glass for a seamless installation. Before securing the glass, perform a dry fit to have it fit snugly into the frame.
Install the New Glass Pane
With the new glass ready, it’s time to install it. Start by laying a small bead of latex caulk around the perimeter of the window opening. It is necessary for creating a weather-tight seal that will protect your home from drafts and moisture. Next, carefully place the new glass pane into the opening, pressing it gently against the caulk to make sure it has a good seal.
After placing the glass, you will need to secure it with glazing points. Insert these points into the frame to hold the glass in place. For standard window sizes, two points on each edge should suffice. If you need more stability, add additional points.
Apply Glazing
Once the glass is secure, the next step is to apply the glazing compound. The compound acts as both a sealant and an adhesive, holding the glass firmly in place. Roll out the compound into thin ropes about one-half inch thick, then apply these ropes around the perimeter where the glass meets the frame.
Using your finger or a putty knife, press the compound against both the glass and the wood frame. This creates a solid seal that protects against moisture and air leaks. With the putty knife held at a 45-degree angle, smooth the compound into a wedge shape along the joint. This angle helps secure a proper seal while creating a neat appearance.
When applying the glazing, don’t rush. Take your time to achieve a smooth, even surface. If you notice any gaps or imperfections, feel free to add more glazing compound and smooth it out again. The compound will remain soft for a while, allowing you to make adjustments if necessary.
Let the Glazing Cure, Then Paint
After applying the glazing, it’s important to let it cure. The drying time can vary depending on the type of glazing compound used, but generally, it can take anywhere from a few hours to several days to fully harden. Consult the manufacturer’s instructions for specific drying times.
Once the glazing is fully cured, you can proceed to paint any exposed wood and the glazing itself with exterior-grade paint. Overlapping the paint onto the glass by about one-sixteenth of an inch creates the best seal against weather elements. This not only enhances the aesthetic of your window but also protects the wood from moisture damage.
Pros and Cons of Single-Pane Windows
Single-pane windows have been common in older homes and offer a classic look. However, they also come with several drawbacks. One of the primary concerns is their poor insulation, which can lead to increased heating and cooling costs. During winter months, they struggle to retain heat, while in summer, they may allow excessive heat into the home.
Another downside is the lack of soundproofing. Single-pane windows often do little to dampen noise from outside, making them less than ideal for homes in busy areas. When deciding to keep or replace single-pane windows, it’s needed to weigh these disadvantages against the aesthetic value they may provide.
When to Consider Replacing Single-Pane Windows
There are several signs that indicate it may be time to replace your single-pane windows. If the cost of repairs approaches that of replacement, it might be more economical to invest in new windows. Additionally, rising energy bills can signal that your windows are no longer efficiently sealing your home.
Feeling drafts near your windows or noticing condensation on the glass are other indicators that it might be time for an upgrade. By recognizing these signs early, you can avoid more significant issues down the line.
Alternatives to Single-Pane Windows
When considering single pane glass replacement, you will likely explore options such as dual or triple-pane windows. These alternatives bring better insulation and energy efficiency, helping to reduce your energy bills and enhance the overall comfort of your home.
Dual and triple-pane windows often contain argon gas or air between the panes, which further improves insulation. While they do come with a higher initial cost, the long-term savings on energy bills and the potential increase in home value make them worthwhile investments.
Why Hire A Professional Glass Replacement Service?
Hiring professional glass replacement services offers a range of benefits that significantly outweigh the DIY approach. First and foremost, these experts possess extensive experience and specialized training, enabling them to accurately assess the situation and recommend the best solutions tailored to your needs. Their familiarity with various types of glass means you will receive the highest quality materials, which not only enhances the aesthetic appeal of your windows but also improves energy efficiency.
Additionally, professionals have the right tools and equipment to handle the replacement safely and efficiently, reducing the risk of accidents that can occur during a DIY project. They also guarantee compliance with local building codes and regulations, which is necessary for maintaining your home’s safety and value. Furthermore, professionals can save you time and effort. Thus, you can focus on other priorities while they handle the intricate details of the glass replacement process.
Lastly, professional services often come with warranties or guarantees, giving peace of mind that the job will be done right and any potential issues will be addressed promptly. A comprehensive approach to glass replacement not only enhances the longevity and functionality of your windows but also elevates your home’s overall quality.
Glass West Inc’s Professional Glass Replacement or Repair Services
If you find yourself needing assistance with single pane glass replacement services, Glass West Inc. is here to help. We house a team that specializes in window replacements, making sure you receive high-quality service and reliable solutions. Our customers are constantly telling us how our window repair services have made such a positive impact on their homes, and we enjoy making them happy.
With over 25 years of experience providing window replacement services in the Sacramento area, we have honed our skills to deliver the leading window repair solutions. Contact us today for a free estimate and to discover how we can enhance your home.